CREATE DISCORD BOT IN NODEJS | PART 1 | BASIC SETUP
Sep 11, 2025

In this video, I'll show you how to make a discord bot in discord.js. This is part 1 of the series.
Install Node.js
To create a Discord bot, you need to have Node.js installed on your machine. You can download it from the official website:
Node.js DownloadMake sure to download the LTS version for better stability.
Create a Bot in the Discord Developer Portal
Go to the Discord Developer Portal:
Discord Developer Portal
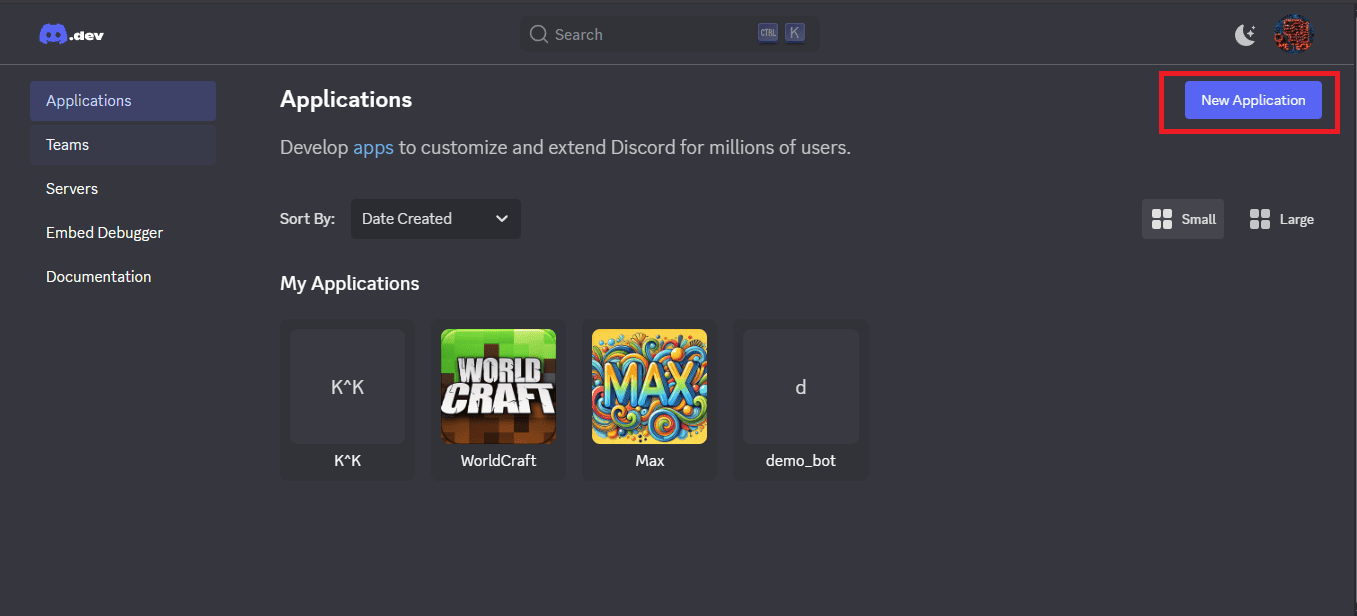
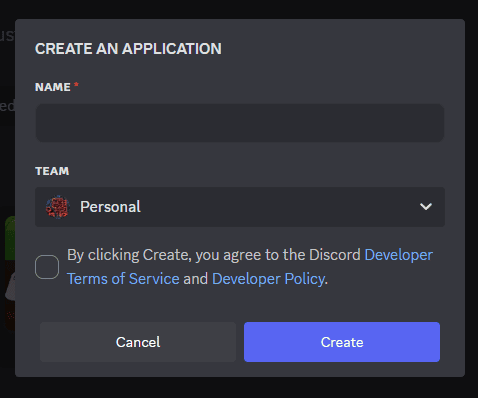
Click on "New Application", give it a name, and then navigate to the "Bot" tab to create a bot user. You can customize the bot's username and icon here.

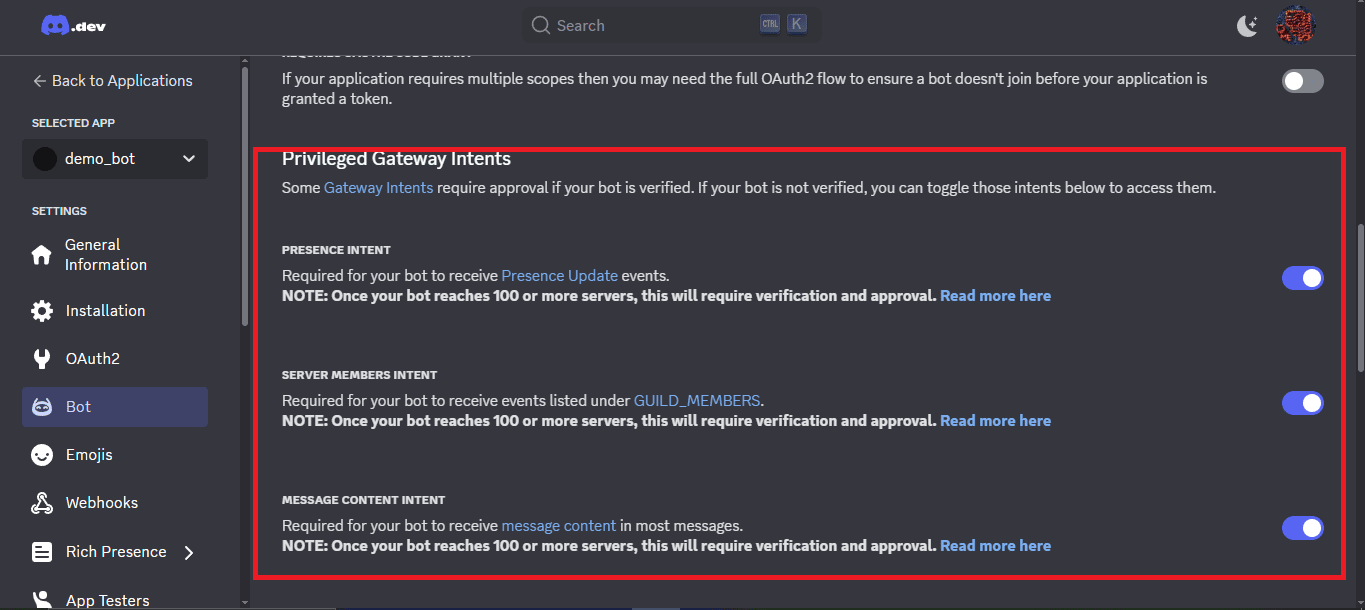
Enable Privileged Gateway Intents. Scroll down and enable Privileged Gateway Intents (for detecting messages, member joins/leaves, etc.). click save changes
Getting the Bot Token

After creating the bot, you will see a "Token" section. Click on "Copy" to copy your bot's token. Keep this token safe and never share it with anyone.. if the copy option not showing reset the token.
You'll need this token to authenticate your bot in your code.
Invite the Bot to Your Server

To invite your bot to a server, you need to generate an OAuth2 URL. In the Discord Developer Portal, go to the "OAuth2" tab.
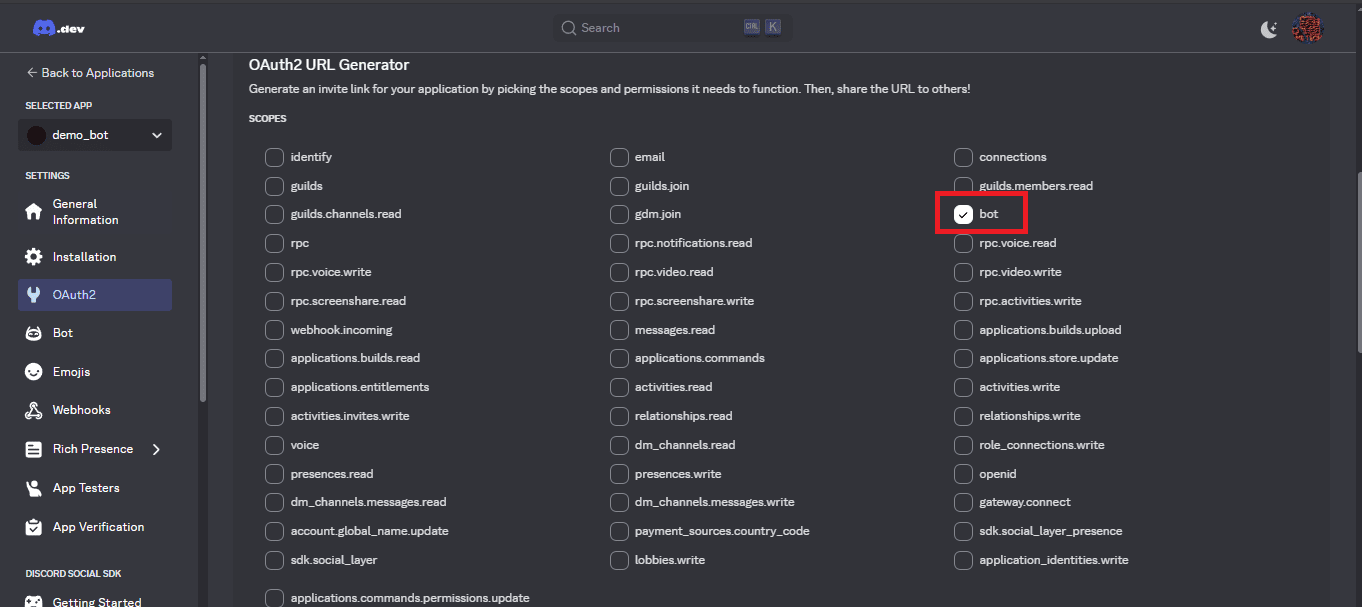
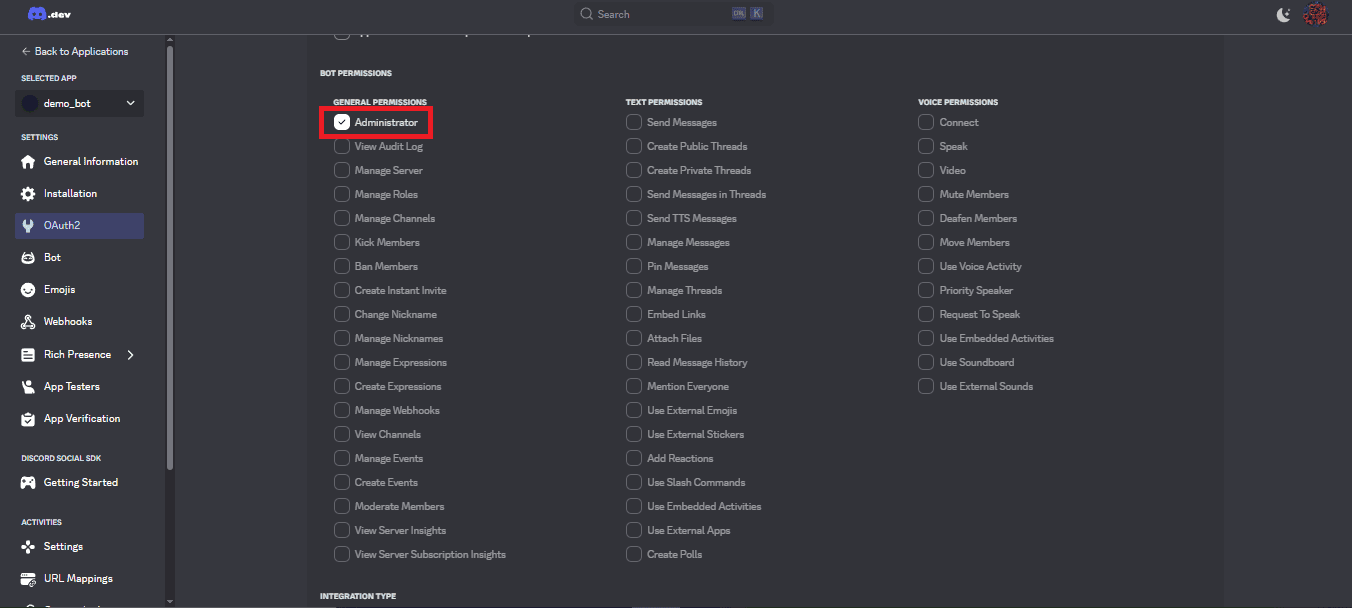
Under "Scopes", select the "bot" checkbox. Then, under "Bot Permissions", select the permissions you want your bot to have.
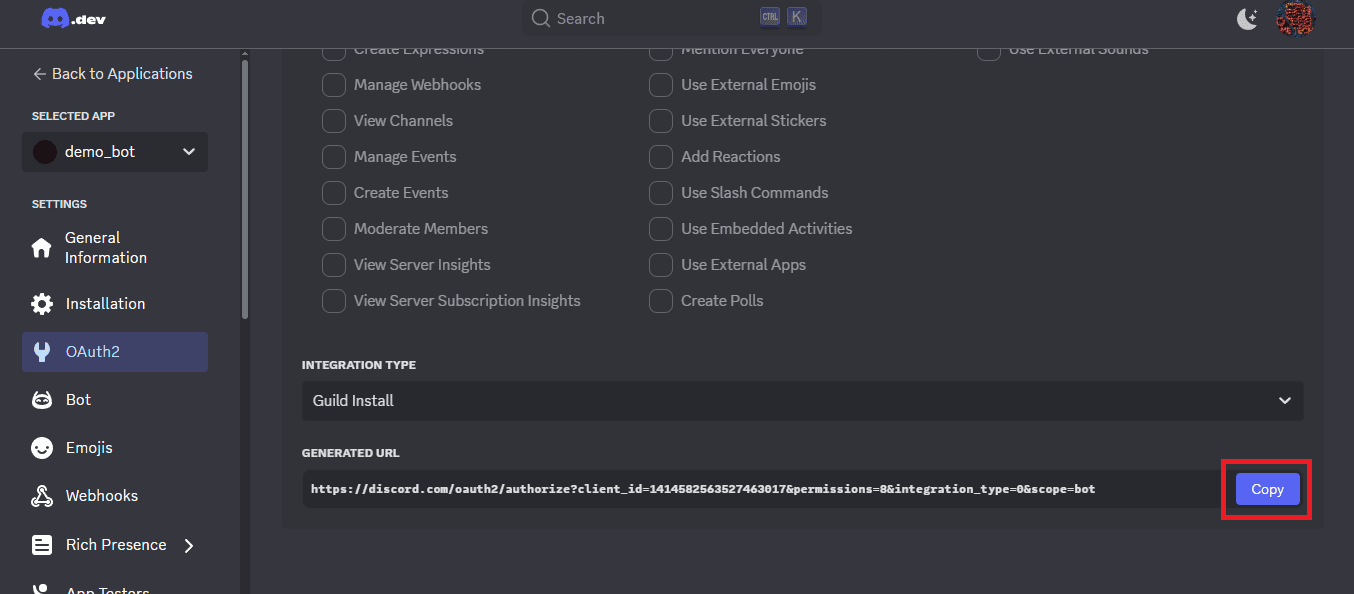
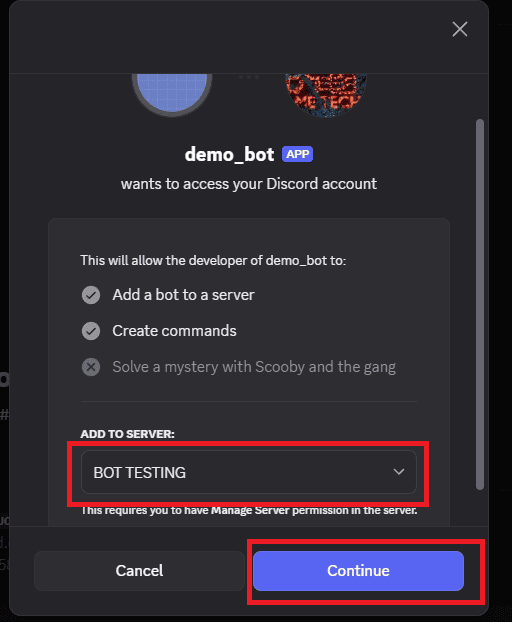
Copy the generated URL and paste it into your browser. Select the server you want to add the bot to and click "Authorize".
Set up Your Development Environment
Create a new directory for your bot project and navigate into it using the terminal or using vs code editor.
Run the following command to initialize a new Node.js project:
npm init -yThis will create a package.json file in your project directory.
Install the discord.js library by running the following command:
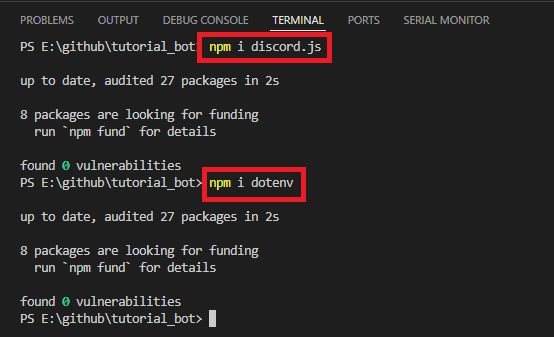
npm install discord.jsThis library will allow you to interact with the Discord API.
also install dotenv for managing environment variables:
npm install dotenvCreate the .env file
Create a .env file in the root of your project directory to store your bot token securely.
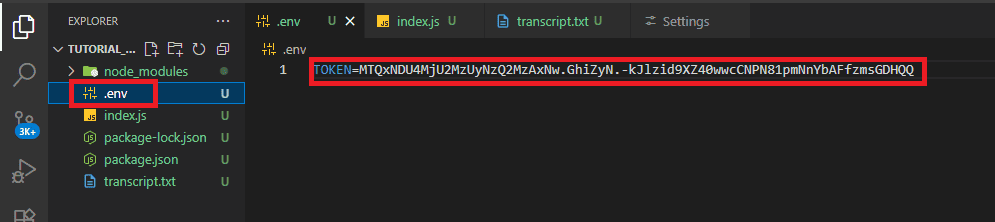
TOKEN=your_bot_token_hereReplace your_bot_token_here with the token you copied from the Discord Developer Portal.
create a index.js file in the root of your project directory. This file will contain the main code for your bot. paste this code in index.js fileCode for this can be found by clicking here .
Run the bot
In the terminal, run the following command to start your bot:
node index.js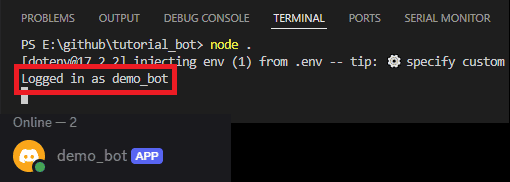
If everything is set up correctly, you should see a message in the console indicating that the bot is online.
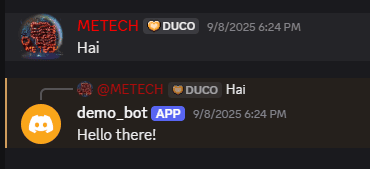
You can now test your bot by sending a message in the server where you invited it. Type "Hai" the bot will reply "Hello there!".
To stop the bot, you can press Ctrl + C in the terminal.
That's it for part 1 of creating a Discord bot using Node.js and discord.js. In the next part, we will explore more advanced features and functionalities for our bot. Stay tuned!
If you like this video hit the SUBSCRIBE button and give a LIKE.